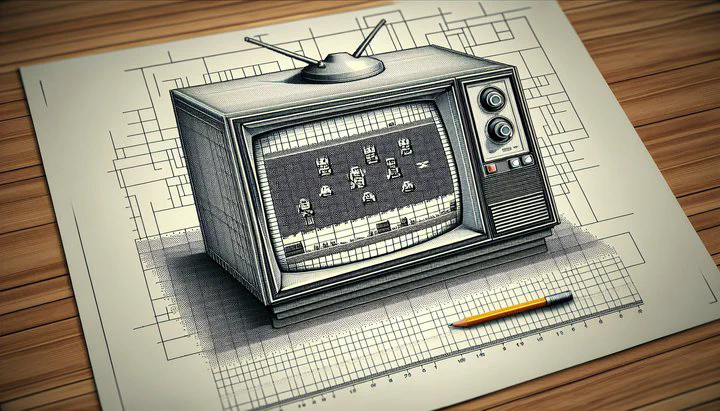
Sharp Edges or Interlaced Blurring in Retro Gaming

Sharp Edges or Interlaced Blurring in Retro Gaming
Ever wonder why your favorite old games sometimes look a bit fuzzy or have strange lines across the screen? That’s because of things called sharp edges and interlaced blurring. These are visual artifacts that can pop up when you’re playing retro games, and they can really change how your game looks.
Sharp edges happen when the images on the screen are too clear or have very hard lines. Imagine drawing with a crayon versus a sharp pencil; the pencil lines can be too harsh, just like sharp edges. This might sound good, but it can make the game graphics look unnatural and harsh, especially on older screens. Back in the day, TVs weren’t as sharp as they are now, so games were designed to look good on those less-clear screens. But when you play these games on modern TVs or monitors, the sharp edges become more noticeable.
Interlaced blurring is another artifact that you might see. This occurs when the screen displays every other line of pixels in each frame, instead of all lines at once. This was a common technique used by retro gaming systems to save on processing power. The problem is, it can make the image look like it’s flickering or cause a blurry effect, especially when there’s fast-moving action on the screen. This blurring can affect the image fidelity, meaning the quality and accuracy of the image you see.
These visual quirks can really change your gaming experience. Sometimes, they make it hard to see what’s happening on the screen or appreciate the art of the game. But don’t worry! In the next sections, we’ll explore ways to deal with these artifacts and improve your retro gaming experience.
Enhancing Full Screen Captures and Gameplay Videos
Capturing the perfect moment in a retro game can be tricky, especially when dealing with sharp edges or interlaced blurring. But with a few tips, you can improve your full screen captures and gameplay videos to make them look clearer and more vibrant.
Remember that epic boss battle in your favorite game? Capturing it perfectly can be tricky, but with the right tools, you can share that moment without the fuzziness. First, let’s talk about tools. Using emulators can be a great way to capture better images because they often have settings that reduce visual artifacts. Look for options like “smooth edges” or “deinterlace” in the settings menu. These can help minimize the harsh lines and blurring that might otherwise ruin your captures. If you’re playing on original hardware, consider using a video scaler. This device can enhance the output from your retro console, making it easier to capture high-quality images.
Another tip is adjusting your display settings. Modern TVs and monitors have many options that can help. Try changing the sharpness setting; a lower sharpness can sometimes reduce unwanted lines in your captures. Also, experiment with the resolution settings. Some displays allow you to switch between different modes, which can improve the image fidelity of your captures.
Finally, consider the software you use for capturing. Programs like OBS Studio offer filters that can be applied to your gameplay videos. These filters can help smooth out sharp edges and reduce interlaced blurring, resulting in a cleaner, more professional-looking video. With these tools and techniques, you’ll be able to share your retro gaming moments without distractions and truly showcase the unique charm of classic games.
By paying attention to these details, you can make sure your full screen captures and gameplay videos look their best, preserving the nostalgia and fun of retro gaming for everyone to enjoy.
Exploring Pre-Release Units and Visual Fidelity
Have you ever heard of a pre-release unit? These are special versions of gaming consoles that are sent out before the official release. They’re kind of like sneak peeks for gamers, allowing a glimpse into the console’s potential before it’s polished for public release. But sometimes, these units have challenges with visual fidelity, which is how clear and accurate the game picture looks.
With pre-release units, you might notice more of those pesky sharp edges or interlaced blurring. These artifacts are often more prominent because the hardware is still being fine-tuned. Developers use these units to make sure games look their best once they’re officially released. However, if you’re lucky enough to have a pre-release unit, there are ways to improve your visual experience.
One way to tackle these issues is by using special cables or adapters that enhance video output. These can help make the images on your screen clearer by reducing those sharp lines and blurring effects. If you’re using an emulator, check for updates that might fix these visual quirks. Developers constantly work on improving emulation software, so keeping your tools up to date can make a big difference.
Another trick is to tweak the settings on your TV or monitor. Just like with regular consoles, adjusting the sharpness and resolution settings can help improve the image fidelity. You might need to play around with these settings to find what looks best for your particular setup.
Even though pre-release units might have some visual hiccups, they offer a unique glimpse into the world of retro gaming before the final polish. By using a few simple techniques, you can enjoy these early versions and appreciate the evolution of gaming visuals.
We’d love to hear your experiences or tips for dealing with sharp edges or interlaced blurring. Share your thoughts in the comments below and explore more articles on VintageGamingFix for additional tips and tricks to enhance your retro gaming adventures!