Help with Vintage TV Connection
Help with Vintage TV Connection
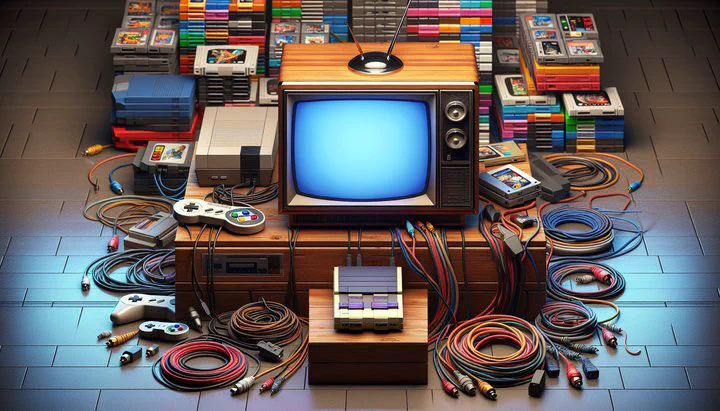
Do you remember the excitement of turning on a big, bulky TV with dials and knobs to watch your favorite shows? Those vintage TVs have a special charm, and connecting them to modern devices like DVD players can bring back those golden days! If you’ve ever tried to connect your old TV and found yourself tangled in cables, don’t worry; we’re here to help with vintage TV connection.
Understanding Vintage TV Connections
Vintage TVs often use connection types that might look unfamiliar if you’re used to modern HDMI cables. The two most common are coaxial and RCA cables. Coaxial cables are thick, round cables with a pin in the center, often used for cable TV. RCA cables are those colorful red, white, and yellow plugs that were once standard for connecting everything from VCRs to video game consoles.
These connections present a challenge today because modern devices, like DVD players, often use entirely different types. That’s where adapters come in. They help bridge the gap between old and new technology, allowing you to enjoy your classic TV with modern gadgets. However, not every adapter works for every TV, which is why it’s crucial to understand what you’re working with.
Choosing the Right Adapter for Vintage TV Connection
When you’re trying to connect a vintage TV to a DVD player, one of the first things you’ll need is the right adapter. Finding the perfect adapter for vintage TV connection is all about knowing what your TV needs. Let’s take a closer look at how to choose the right one.
First, check out the input ports on your vintage TV. Most classic TVs will have either a coaxial or RCA input. If your TV has a coaxial port, you’ll need a coaxial to RCA adapter. This type of adapter converts the signal from something like a DVD player, which might use RCA outputs, into a format your TV can understand. On the other hand, if your TV already has RCA ports, you might not need an adapter at all. Instead, you could use RCA cables directly to connect the devices.
Once you know which type of adapter you need, it’s time to find one. You can search online stores like Amazon or eBay, where vintage TV connection adapters are often available. Local electronics shops might also carry these adapters, and sometimes you can find them in community forums or retro gaming groups. When buying, make sure to check the reviews and ensure the adapter is compatible with both your TV and the device you want to connect.
Finding the Correct Cable for Your 1970s TV
You’ve got your vintage TV ready and you’re eager to dive into the world of retro gaming or movie watching. But there’s one small hitch: finding the right cable for 1970s TV models can be a bit tricky. Don’t worry, though—we’re here to help you figure it out!
First, let’s identify what kind of cable your TV needs. Many 1970s TVs use coaxial or RCA cables. If your TV has a single round input with a pin inside, that’s a coaxial port. For RCA inputs, you’ll see three separate ports, usually colored red, white, and yellow. These colors correspond to audio (red and white) and video (yellow) signals. Knowing what kind of input your TV has is the first step in choosing the right cable.
Once you’ve figured out which type of cable you need, it’s time to find one. Online stores like Amazon or eBay are great places to start when looking for a cable for 1970s TV. You can also try local electronics shops or check out community forums and retro gaming groups. These communities are filled with enthusiasts who might have spare cables or know where to get them. Make sure to read reviews or ask for recommendations to ensure the cable you purchase is reliable and in good condition.
Step-by-Step Guide: Connecting Your Vintage TV to a DVD Player
Are you ready to connect vintage TV to DVD player and relive some classic movie magic? With the right cable for 1970s TV and an adapter for vintage TV connection, you’re all set to go. Follow these simple steps to make the connection and get your vintage TV up and running with modern entertainment.
Step 1: Gather Your Equipment
Before you start, make sure you have everything you need. You’ll need the right cables (either RCA or coaxial, depending on your TV), an adapter if necessary, and, of course, your DVD player. Double-check that everything is in working order and compatible with your TV.
Step 2: Connect the Cables
If your vintage TV has RCA ports, connect the red, white, and yellow RCA cables from the DVD player to the corresponding ports on the TV. If your TV only has a coaxial input, you’ll need to use your coaxial to RCA adapter. Connect the RCA cables to the adapter, and then plug the adapter into the TV’s coaxial port. Make sure all connections are snug and secure.
Step 3: Set the TV to the Right Channel
Turn on your vintage TV and set it to the correct input channel. For RCA connections, this is often a setting like “Video” or “AUX.” For coaxial connections, you might need to tune to channel 3 or 4, depending on how the adapter is set. Check your adapter’s instructions if you’re not sure.
Step 4: Power Up the DVD Player
Turn on your DVD player and insert a disc. You should see the DVD menu appear on your TV screen. If not, make sure all cables are connected properly and the TV is on the right input channel. If you’re having trouble, refer to the troubleshooting tips below.
Troubleshooting Common Connection Issues
Even with the right adapter for vintage TV connection and the correct cable for 1970s TV, you might still run into some hiccups when trying to connect vintage TV to DVD player. Don’t worry! We’ve got some simple fixes for common issues so you can get back to enjoying your favorite retro shows and movies.
Problem: No Signal on the TV
If your TV screen is blank or just shows static, the first thing to check is your connections. Make sure all cables are securely plugged in and that the adapter is properly attached. Double-check that your TV is set to the correct input channel. For RCA connections, this might be labeled as “Video” or “AUX.” For coaxial connections, try tuning the TV to channel 3 or 4. If the problem persists, try using a different cable or adapter, as these can sometimes be faulty.
Problem: Poor Picture Quality
A fuzzy or distorted picture can be frustrating, especially when you’re eager to dive into some retro gaming or movie watching. First, ensure that your cables are in good condition without any visible damage or wear. Sometimes, using a higher-quality adapter or cables can make a big difference in the picture quality. You might also want to adjust the fine-tuning on your TV, if it has that feature, to see if it improves the picture. If these steps don’t help, consider trying a signal booster, which can enhance the overall quality of the connection.
Problem: Sound Issues
If you’ve got picture but no sound, or if the sound is distorted, you’ll want to check the audio cables. Make sure the red and white RCA cables (which carry the audio signals) are connected to the correct ports on both your TV and the DVD player. If using a coaxial connection, check that the adapter is working properly. Sometimes, replacing old RCA cables with new ones can solve the problem. Also, ensure that the volume is turned up on both the TV and the DVD player.
Conclusion
By following these steps and troubleshooting tips, you’ll be able to enjoy your DVDs on your vintage TV, bringing a touch of nostalgia to your viewing experience. If you run into any issues, don’t hesitate to reach out to community forums or retro gaming groups for additional support. Websites like VintageGamingFix offer a wealth of information and support to help you enjoy your vintage TV setup to the fullest. Get ready to relive the golden days of TV with a touch of modern magic, and don’t forget to share your experiences or solutions in the comments below. Happy viewing!