Apple II+ Repair Cracked Component
Apple II+ Repair Cracked Component
Identifying the Cracked Component
Before you can fix your Apple II+, you need to find the cracked component here. Start by turning off and unplugging your computer. Safety first! Then, carefully open the case by removing the screws. Take a good look inside. You might notice a crack on the motherboard or on one of the plastic parts. These are common places where cracks can happen.
Have you ever wondered why these cracks appear? Well, the Apple II+ is old, and some parts might be fragile now. Plastic can crack if handled roughly or dropped. When you find a crack, remember that some components can be repaired, while others might need to be replaced.
Knowing where to look is half the battle. Check around the edges of the motherboard and any plastic casings. Also, inspect the ports and connectors. These areas are often under stress and might be where you find a cracked component here. If you’re unsure whether something is actually cracked or just scratched, a magnifying glass can help you see better. Don’t forget, identifying the problem is the first step to getting your beloved machine back in working order!
Tools and Materials Needed for Repair
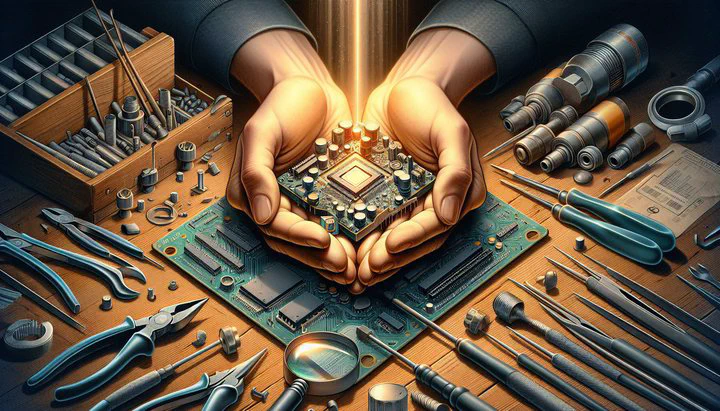
Before you start repairing your Apple II+ cracked component, it’s important to gather all the tools and materials you’ll need. Having everything ready will make the process smoother and help you focus on the task at hand.
-
Precision Screwdrivers: These are essential for opening the case and removing any small screws without damaging them. If you find that a part needs to be replaced, having the right screwdrivers will make it much easier to safely detach old components.
-
Soldering Iron and Solder: These are used to fix electrical connections that might have cracked. If you’re new to soldering, it’s a good idea to practice on some spare wires first.
-
Multimeter: A multimeter helps you check if electrical parts are working properly after the repair.
-
Epoxy Adhesive: This strong glue can help mend cracks in plastic casings. Be sure to apply it carefully and follow the instructions on the package for the best results. If a plastic part is too damaged and needs to be replaced, make sure you have a compatible replacement ready.
-
Magnifying Glass: This will help you see small cracks and ensure that your repairs are precise. It’s also useful for double-checking that your solder joints are solid and that all repairs are clean.
With these tools and materials at your side, you’ll be ready to tackle the repair confidently. Remember, taking time to prepare well is key to a successful Apple II+ repair!
Step-by-Step Repair Instructions
Now that you’ve identified the Apple II+ repair cracked component and gathered your tools, it’s time to start repairing it. Follow these steps to ensure your vintage computer is back up and running in no time.
-
Safety First: Before you begin, make sure your Apple II+ is unplugged. Safety goggles and gloves are also a good idea to protect yourself from any small debris or hot solder.
-
Inspect the Damage: Use your magnifying glass to closely examine the cracked component here. Determine whether it’s a plastic piece or an electrical connection that needs attention. This will guide you on the type of repair you need to perform.
-
Repairing Electrical Components: If the crack is on an electrical board, carefully use your soldering iron to mend any broken connections. Use the soldering iron carefully. Too much solder can cause problems. Ensure that the solder forms a strong bond.
-
Fixing Plastic Parts: For cracked plastic components, mix your epoxy adhesive according to the package instructions. Apply it gently over the crack using a small applicator or toothpick. Hold the pieces together firmly until the epoxy starts to set. If the part is beyond repair and needs to be replaced, swap it out with a compatible part you’ve already sourced.
-
Testing Your Repairs: Once everything is secured and the epoxy has dried, use a multimeter to check the continuity of electrical repairs. This ensures that electricity flows properly through the connections. If you find any issues, you may need to re-solder or adjust the repair.
-
Reassemble and Test: Carefully put the Apple II+ back together. Double-check that all screws and components are secure. Plug it back in and power it on to see if it works smoothly. Listen carefully; you might think heard cracking is normal, but it can mean trouble.
Have you tried fixing something like this before? Share what worked for you in the comments!
Common Causes and Prevention of Cracks
Understanding why cracks happen in your Apple II+ can help you prevent them in the future. Many components in these vintage machines are old and can become brittle over time. Let’s explore some common causes and how to keep your Apple II+ in good shape.
Aging Materials: The Apple II+ was first released in the late 1970s, so many parts are over 40 years old! As plastic and other materials age, they can become fragile and prone to cracking. This is especially true if the computer has been exposed to extreme temperatures or humidity over the years. To prevent further damage, keep your Apple II+ in a stable, climate-controlled environment.
Improper Handling: Sometimes people don’t realize how delicate vintage electronics can be. Rough handling, such as dropping the computer or stacking heavy items on top of it, can easily lead to cracks. Do you keep your Apple II+ in a safe spot? It’s important to prevent future cracks. Always handle your Apple II+ with care.
Misconceptions About Cracking: You might think cracking sounds are okay, but they can mean trouble. While it’s true that some vintage computers make small noises when they power on, consistent cracking sounds can signal a problem. If you notice unusual noises, it’s worth investigating to ensure nothing is breaking inside.
Prevention Tips: To avoid future cracks, regularly inspect your machine for signs of wear. Tighten any loose screws and ensure all components are properly seated. If you notice a small crack starting, address it before it gets worse. Using rubber feet or padding under the computer can also absorb shock and reduce stress on the components.
By understanding these causes and taking preventive measures, you can protect your Apple II+ from further damage. Keep it safe, and it will continue to bring you joy for years to come. If you ever feel uncertain about the condition of your computer, don’t hesitate to reach out for professional advice to keep your vintage machine in top shape.
When to Seek Professional Help
Even the most dedicated retro gaming enthusiasts need a little help sometimes. When it comes to Apple II+ repair cracked component issues, knowing when to call in a professional can save you time and prevent further damage to your beloved machine. Let’s explore when it’s best to seek expert assistance.
Complex Repairs: If the crack is in a tricky spot like the motherboard, it might be too hard to fix by yourself. These areas are crucial for the computer’s operation, and a mistake could lead to more problems. If you’re not completely confident in your skills, it’s wise to reach out to a professional. They have the experience and tools to handle delicate repairs safely.
Persistent Problems: After you start repairing it, if your Apple II+ continues to have issues, it’s time to consult an expert. Persistent problems might indicate deeper issues that require specialized knowledge to diagnose and fix properly.
Unavailable Parts: Sometimes, a component simply needs to be replaced, but finding the right part can be tough. Professionals often have access to a network of suppliers and can source rare or difficult-to-find components for you. They can also ensure that the new parts are properly installed and function correctly.
Risk of Further Damage: Attempting repairs that are beyond your skill level can risk damaging your Apple II+ even more. If you’re unsure about any step in the repair process, it’s better to seek help than to potentially make things worse. Professionals can help ensure that your vintage computer remains in the best possible condition.
Finding Help: When you decide it’s time for professional repair, look for technicians who specialize in vintage electronics or retro gaming systems. Join our forums to find professionals who can help. Experienced professionals can bring your Apple II+ back to life and may even offer tips to help you maintain it in the future.
Knowing when to seek professional help is crucial for preserving the longevity of your Apple II+. By recognizing the limits of DIY repairs and relying on experts when necessary, you can ensure that your cherished vintage computer continues to provide joy and nostalgia for years to come.
Remember to explore more articles or join the VintageGamingFix community to share your experiences and learn more about keeping your retro gaming equipment in top shape!